I have been planning on checking the condition of the front sub-frame on my 1992 Jaguar XJS for a while now. I finally got around to removing the front springs and using my needle de-scaler to remove any loose rust before giving it a treatment with waxoyl an underseal.


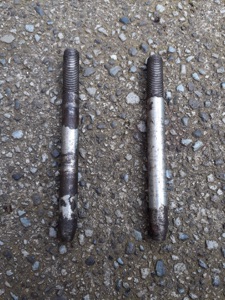
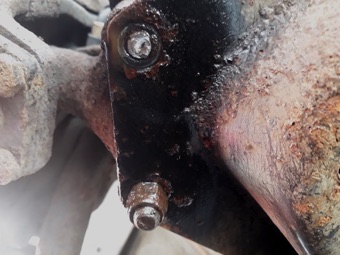
I have previously made a coil spring compressor that I have used on my other Jaguar XJSs, but have also wondered whether it would be possible to remove the springs without using the coil spring compressor. I found a couple long of 3/8 UNF bolts and ground the hex heads of them as in this photo. I will show how I used them further down.
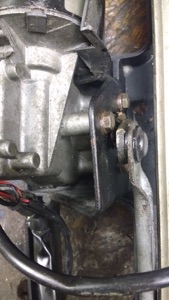
Prior to dismantling the the front suspension, I tried to slacken off each of the 12 bolts that hold the bottom spring trays in place.
The 8 short bolts that screw into the lower arms all became free without any problem, however 1 of the 4 long bolts that have nuts on them was seized and ended up snapping at both ends, so the first job was to get this bolt out and replaced. About an hour of hammering and the use of my air chisel coaxed the bolt out.
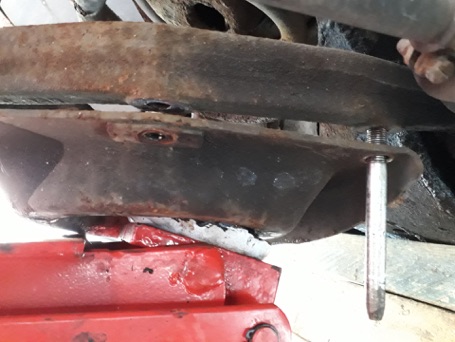
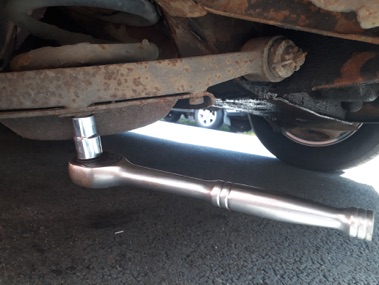
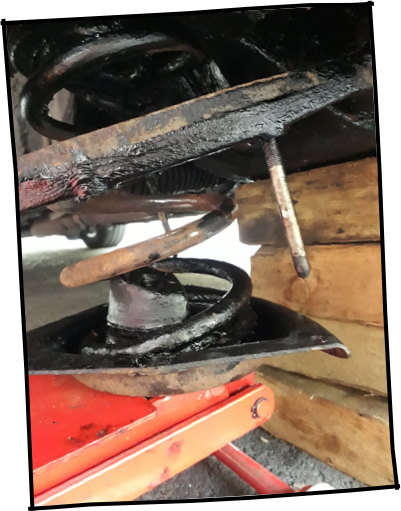
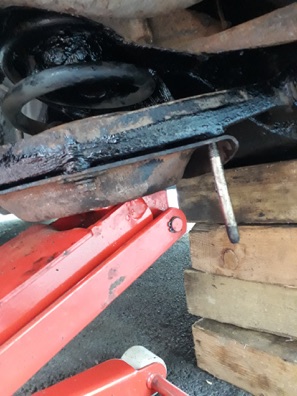
I supported the front of the car on several blocks of wood under the middle of the front sub-frame, so that the car was very stable and there was no weight on the front wheels. I placed a trolley jack under one of the lower coil spring trays and lifted the jack slightly. I then replaced the two inmost bolts with the long bolts that I had remove the heads. Once these long bolts were in place to keep the tray located, I removed the remaining 2 short bolts and the nuts off the other 2 bolts. I then slowly and carefully lowered the jack allowing the pan to slide down the long bolts.
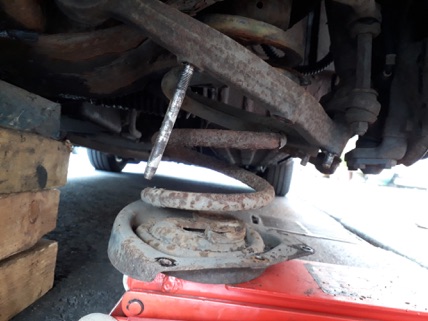
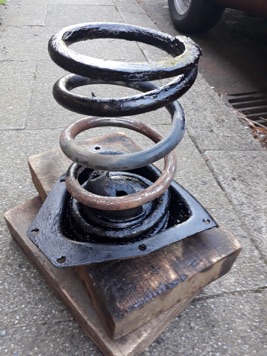
This photo shows the spring and pan fully lowered on the jack. No need for the coil spring compressor. Hopefully replacement will simply be the reversal, using the jack to slide the pan up the guide bolts.
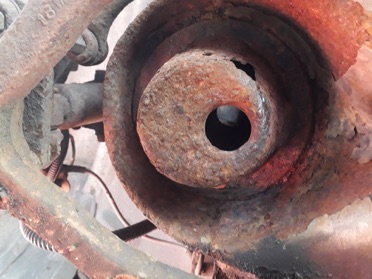
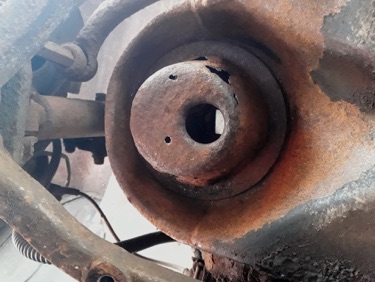
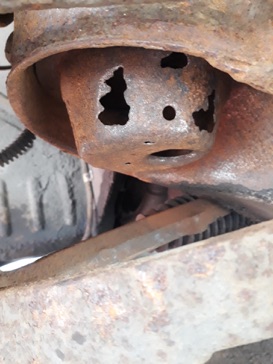
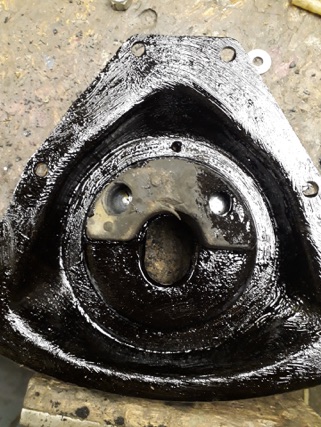
I could immediately see that the right hand side turret of the sub-frame had bad corrosion on the centre cup, but the important parts looked OK. The left hand turret was fine.

The two turrets after cleaning with my needle de-scaler.
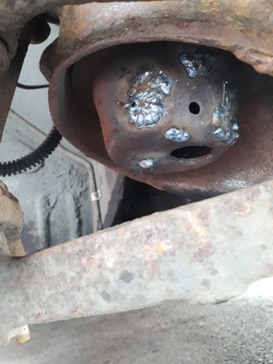
I welded the holes in the damaged cup with my mig welder.
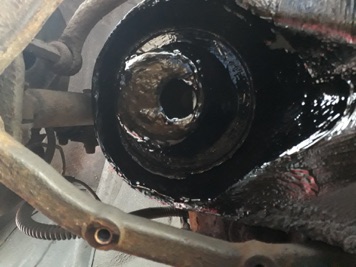
Both turrets got a good coat of waxoyl underseal on the inside and outside.
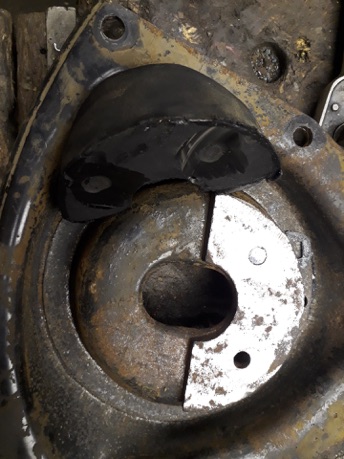
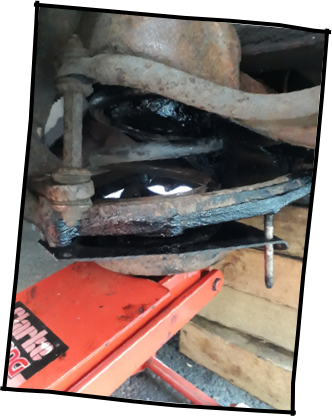
As with my previous experience with the lower rubber buffers, the rubber had separated from the metal mount. I used my angle grinder to cut off the bolts.
I then drilled two holes through the rubber and bolted the rubber and metal spacers back in place.
I also de-rusted and undersealed the spring
Finally the jack was used to press the spring and pan back into place and the bolts replaced.