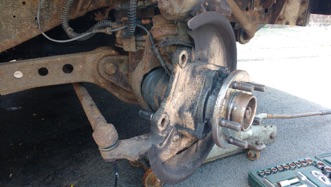
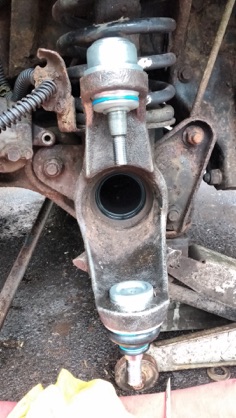
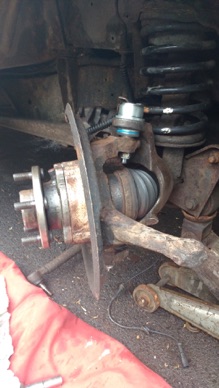
During a test, it was highlighted that there was a small amount of play in one of the front lower ball joints on my 1998 Land Rover Discovery TD5. Since it was an advisory, I didn’t have to repair it immediately, but I purchased a new lower and upper joint and a new drive shaft oil seal ready to do the work. I also looked into what tools I would need. The one tool I didn’t have was a suitable press to remove the old ball joints and install the new ones. After some research and measuring of the suspension components, I made my own press, which performed well. Here the bolts that secure the hub are about to be removed. I realised after getting this far, that there is no need to remove the large driveshaft hub nut. The hub and shaft could have been removed in one piece.


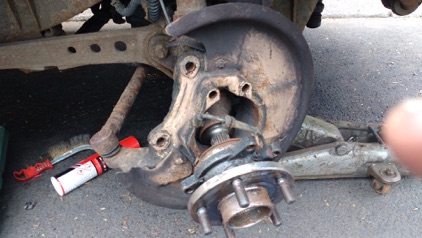
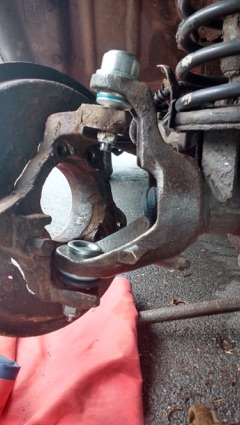
The hub being removed from the carrier. It is necessary to disconnect the ABS sensor cable in the engine compartment.
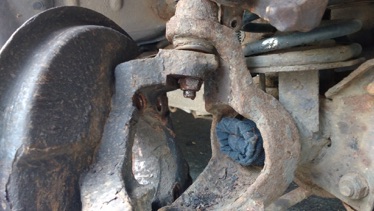
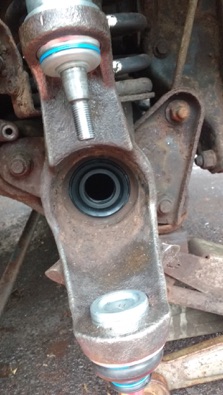
After removing the drive shaft, I plugged the hole with a piece of cloth. I also sprayed the ball joint threads with lubricant.
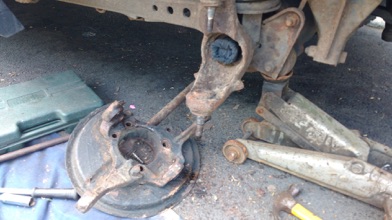
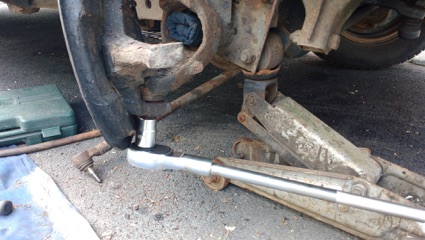
Removing the nuts from the ball joints. After a bit of hammering on the hub carrier where the ball joints fit, the carrier dropped off.
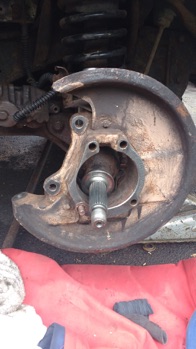
With the hub carrier removed, it was now possible to get access to the ball joints. I used a wire brush in my angle grinder to clean any rust off that would have made removal more difficult.


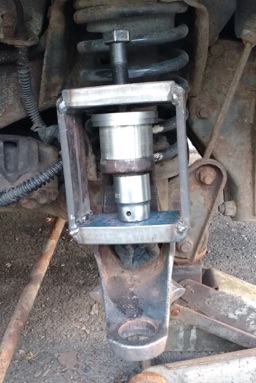
Here is my press being used to drive out the lover ball joint. The pressing action is achieved by tightening the bolt at the top of the press. Suitable sized tubes were made to go around the ball joint.

The press was then used to drive our the upper ball joint and then drive the new one in.
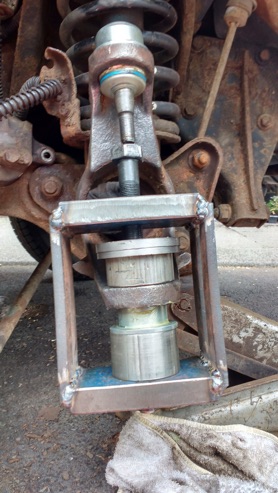
The press was then used to drive the new lower ball joint in. Once again, suitable sized lengths of tube were used to space the pieces.
The old drive shaft seal was prized out, the area carefully cleaned and then the new seal pressed into place.
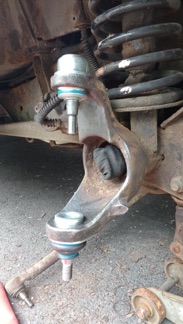
The hub carrier being refitted.
The driveshaft was then carefully inserted, making sure that the new seal was not damaged.
A bead of loctite was put onto the drive shaft spline before the hub was refitted and then the hub nut was torqued up. This process was covered in one of my other jobs about replacing the hubs.